Imagine this: You’ve just completed a sprawling piece of art, only to be met with the limitations of your scanner—it’s just not big enough to capture the entire piece in one go. In such cases, artists often resort to scanning their artwork in multiple parts, then piecing them together afterwards. However, the process of manually merging these sections can be tricky, leading to visible seams and disruptions in the artwork’s continuity. Enter Photoshop Photomerge, a specialized feature designed to seamlessly address these challenges by automating the merging process. In this guide, we’ll explore the straightforward steps of using Photoshop Photomerge to stitch together your scanned images and create a larger, cohesive artwork.
Using Photoshop Photomerge
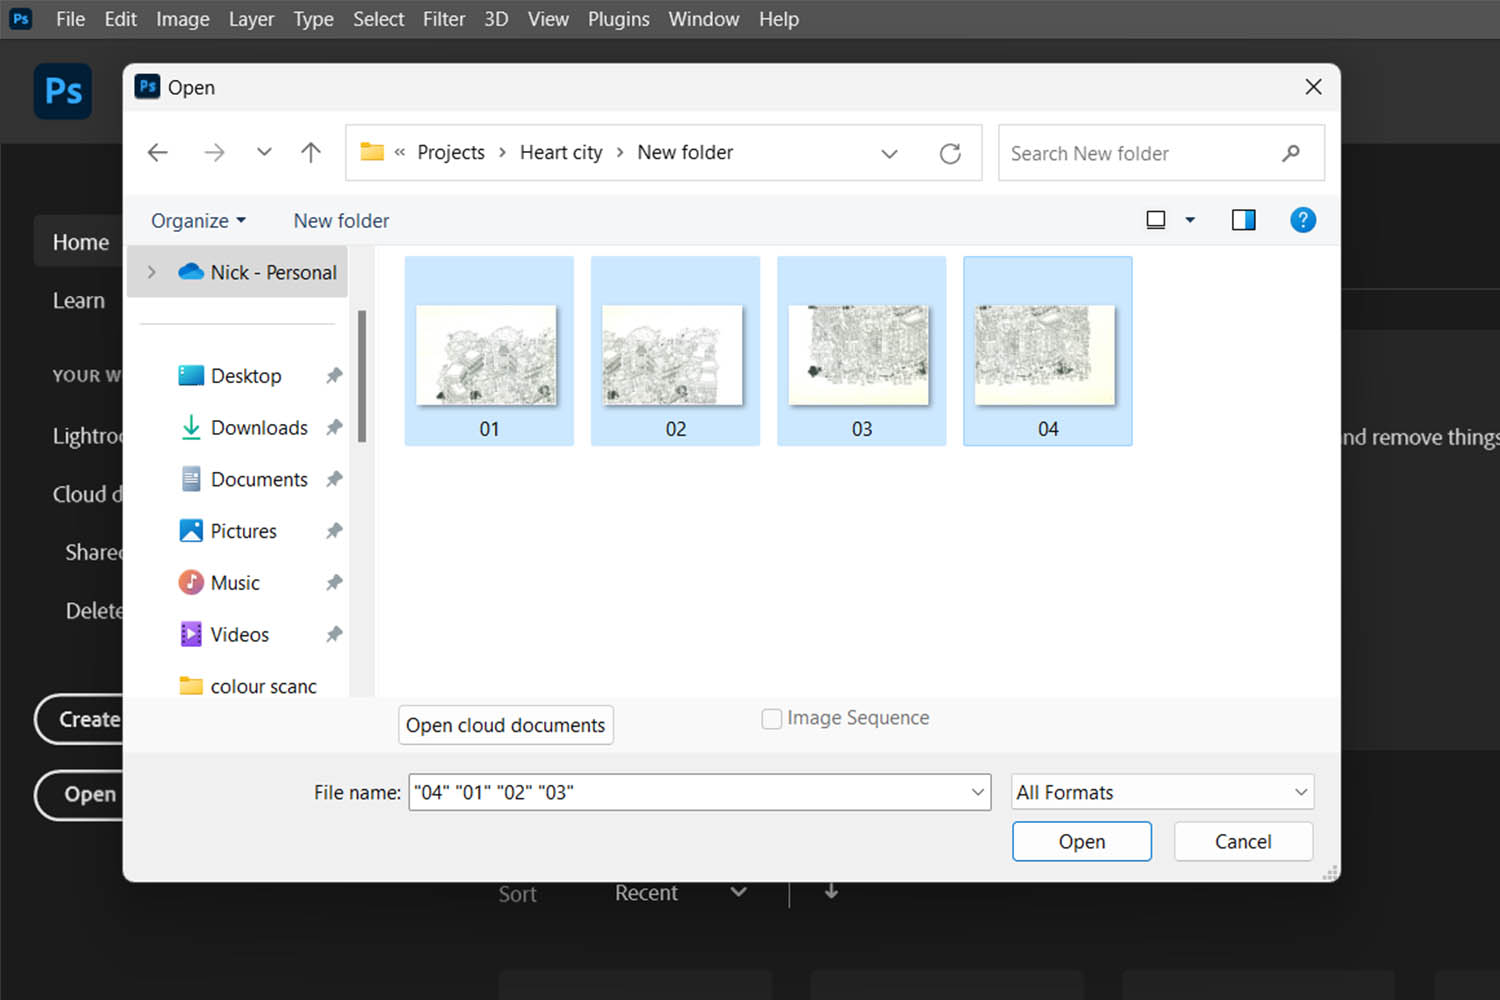
If you’ve already completed your artwork and scanned it into the computer in multiple parts, let’s get started. Open Photoshop and go to “File” in the menu. Select “Open” and navigate to the folder where you’ve stored the scanned sections. Open all the files containing the scanned sections that you want to merge.
Here’s a crucial step: make sure each of your scanned sections includes a slight overlay or recognizable feature. This overlay helps Photoshop determine the positioning of each piece during the merging process.
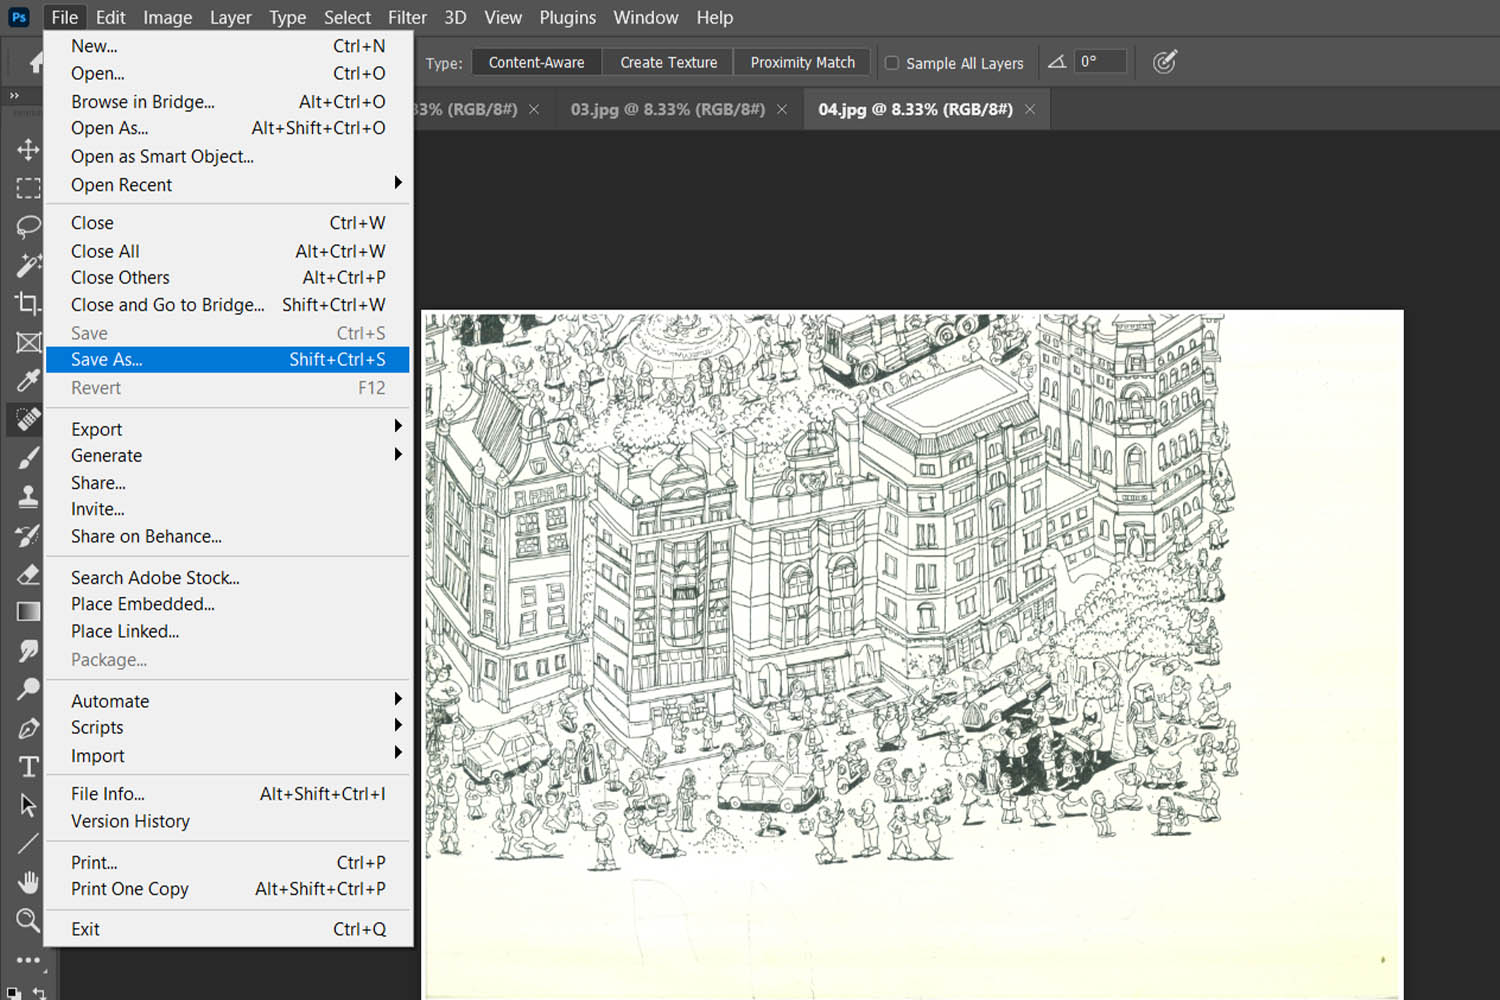
Once you have all the scanned sections open in Photoshop, you must now save the open files. Go to “File” in the menu and select “Save” or “Save As” on all of the open widows that you wish to merge.
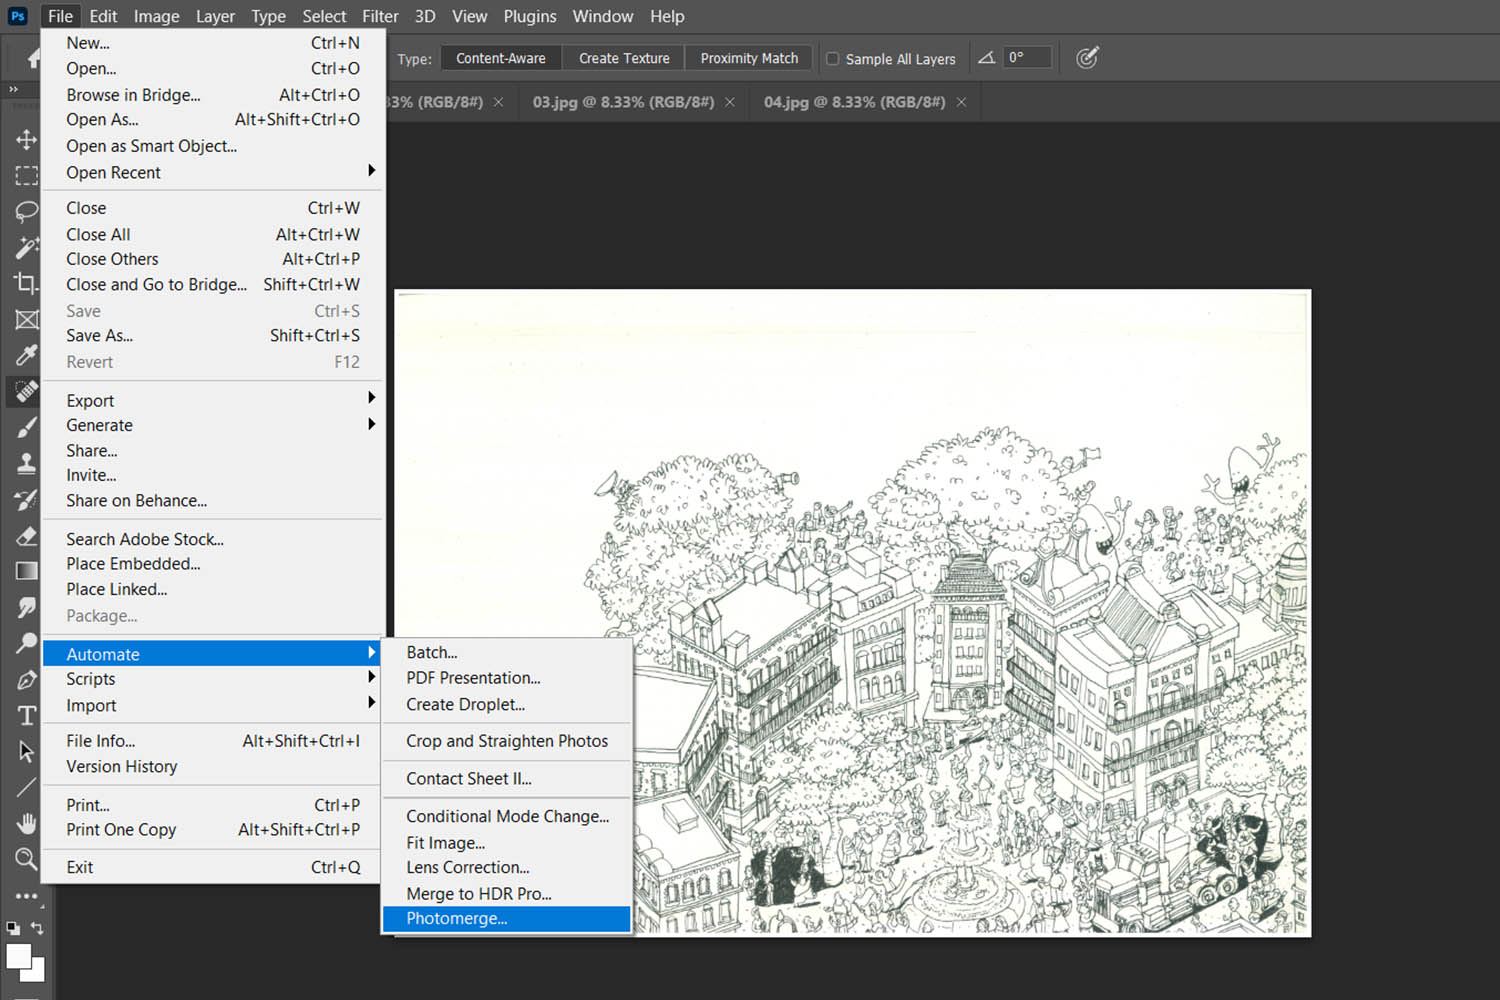
With your scanned sections open and saved, it’s time to access the Photomerge tool in Photoshop. Navigate to the menu and select “File” > “Automate” > “Photomerge.” This will open the Photomerge dialog box, click the add open files button and then click OK.
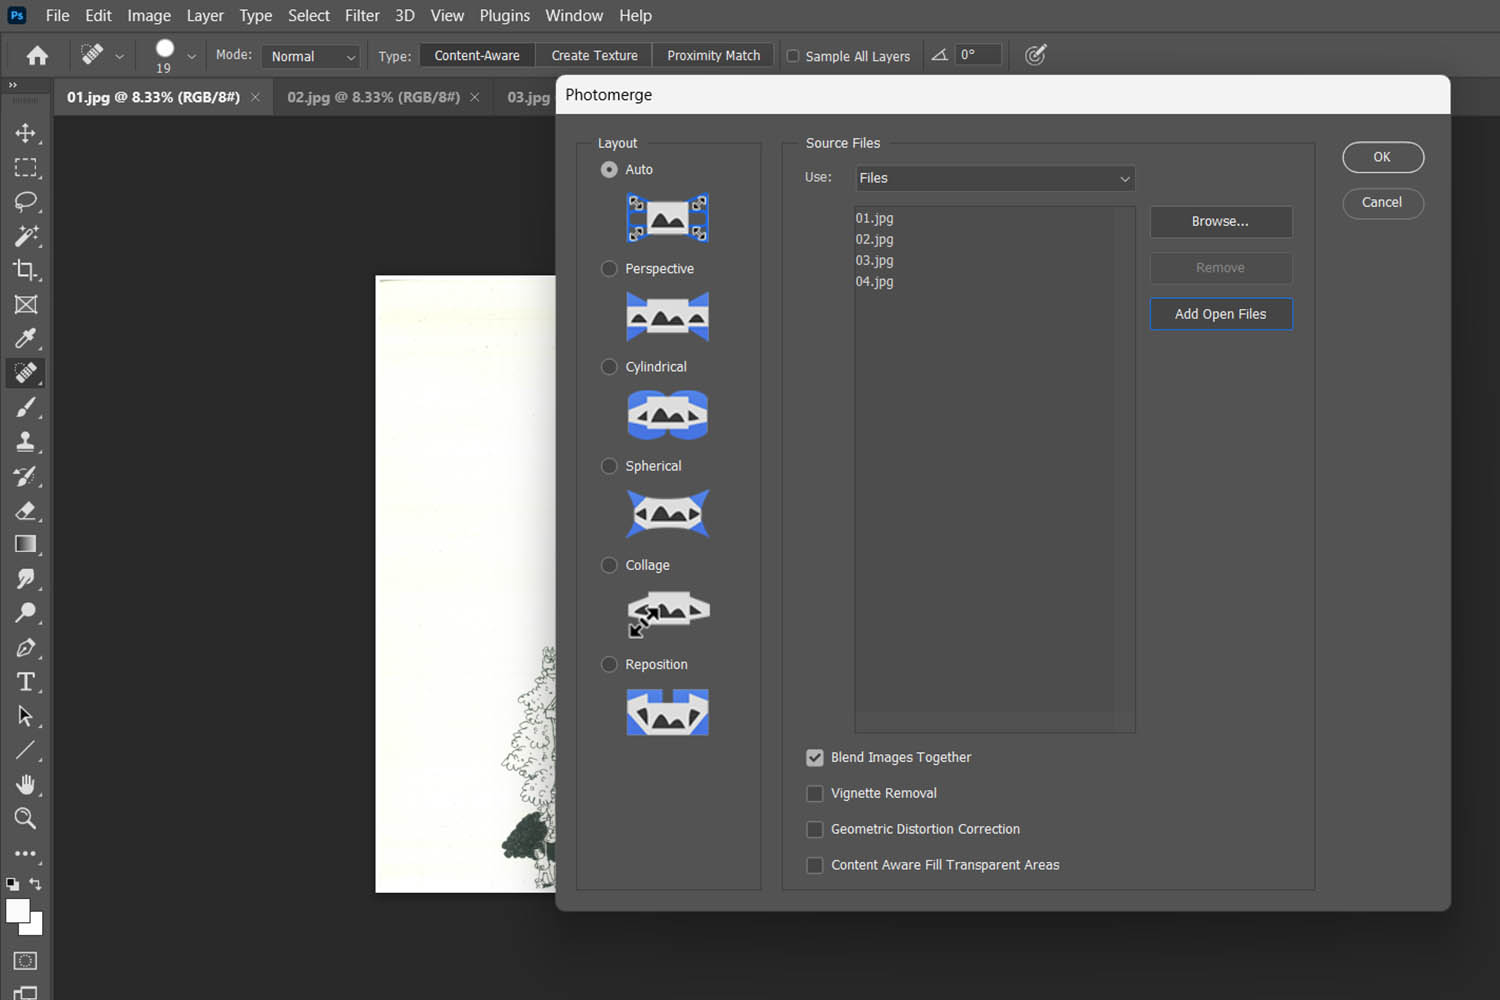
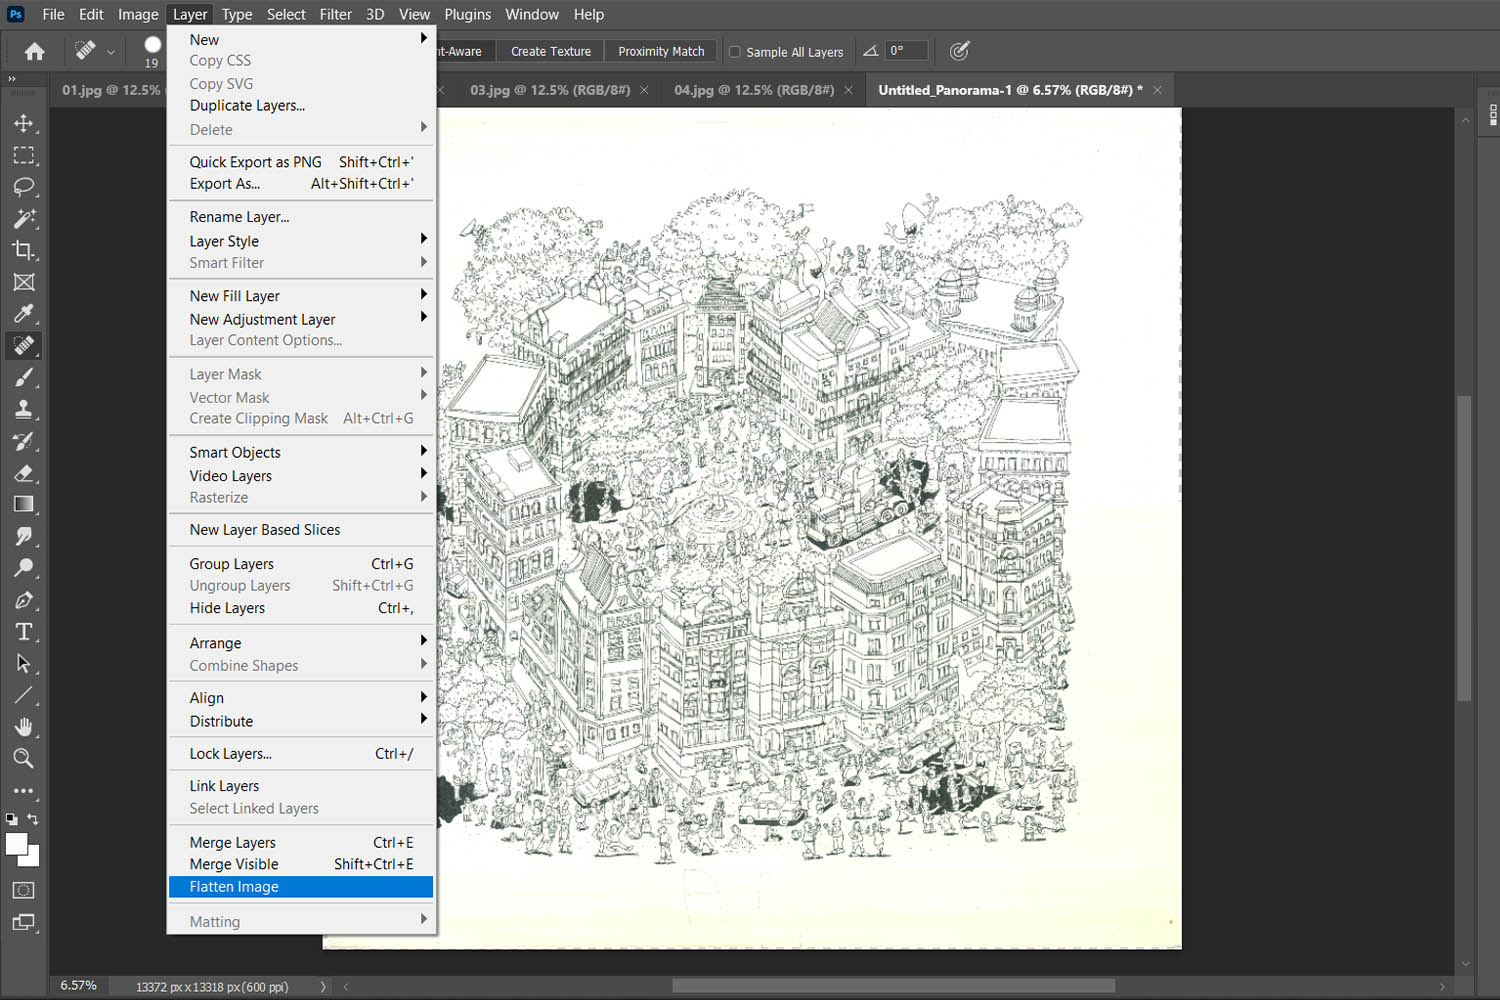
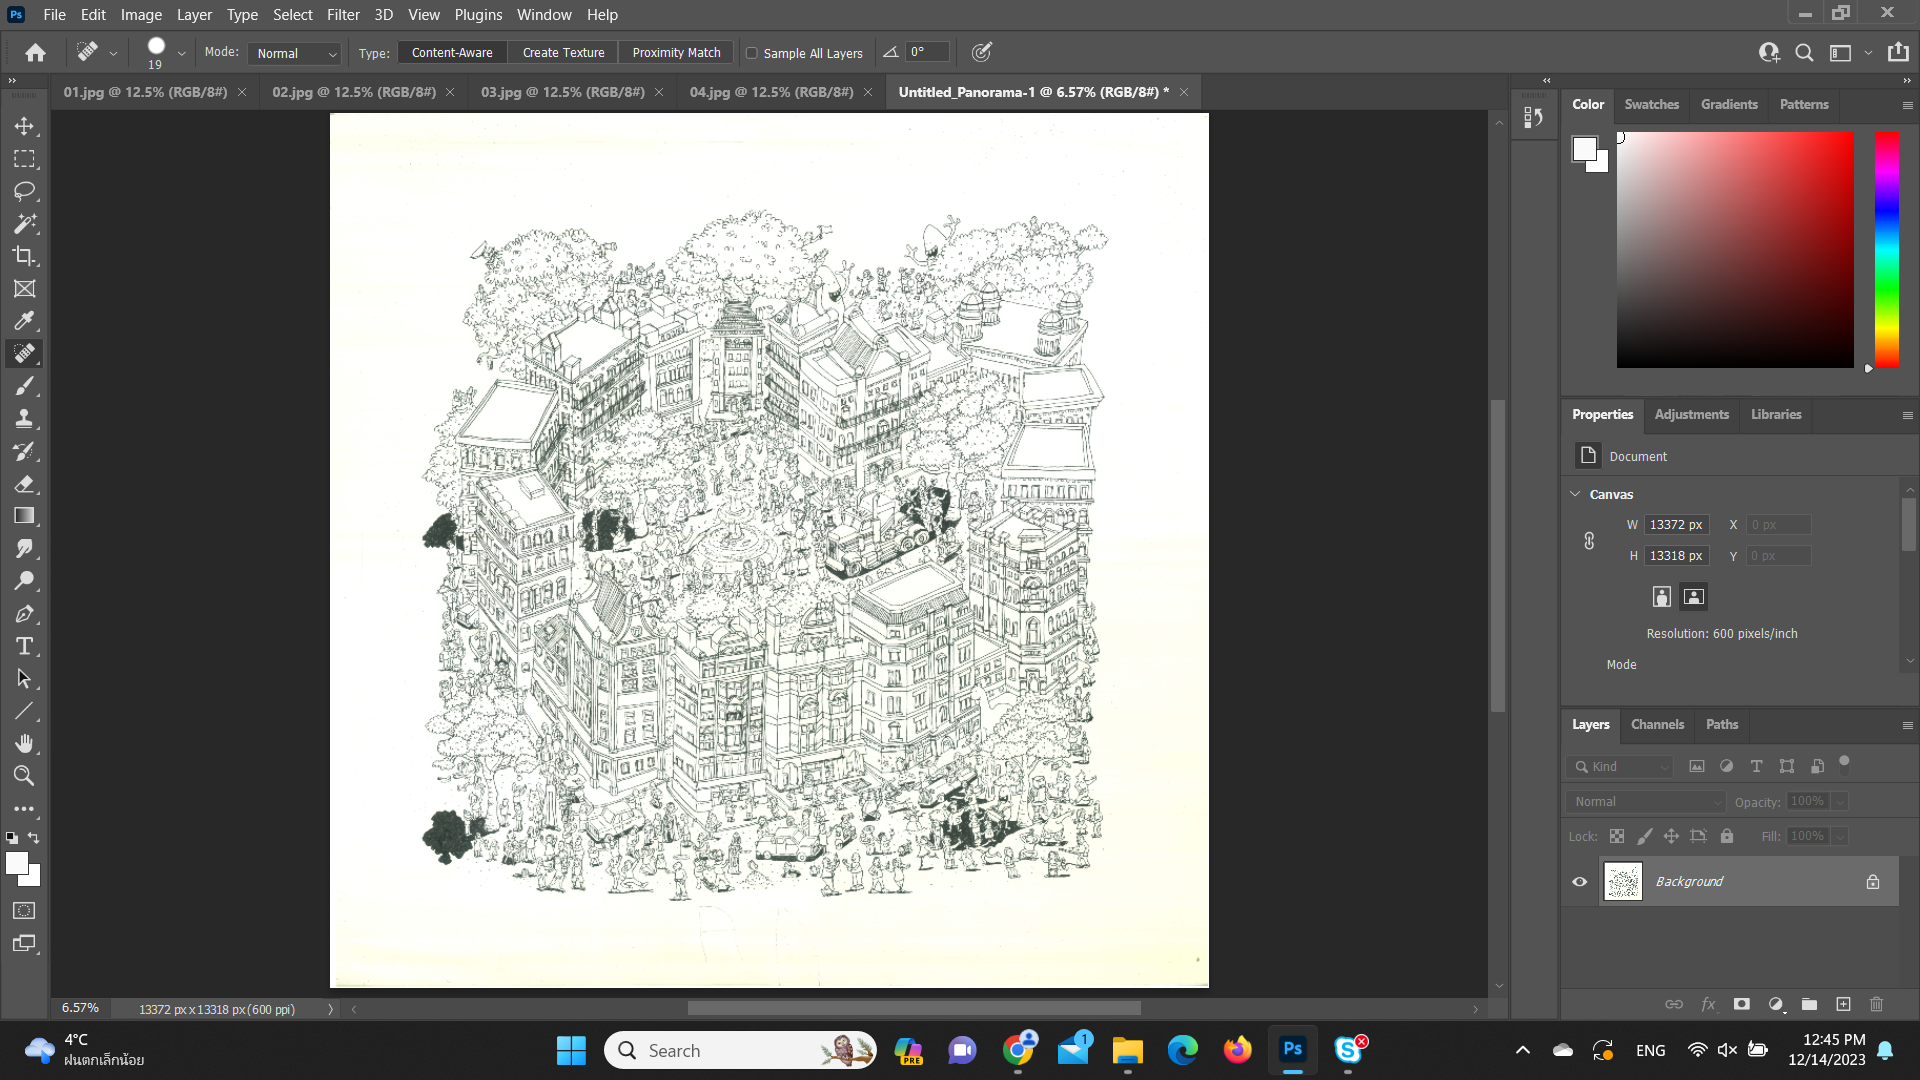
After selecting the scanned sections, click “OK” in the Photomerge dialog box. Photoshop will seamlessly stitch and patch together the sections, creating a unified and complete image of your artwork. All what’s left to do now, is to flatten and save the image. Navigate to the menu and select “Layer” > “Flatten Image” > and you are finished!!!
Thanks for reading! If these steps helped with your artwork, drop a comment or share the guide with fellow artists. Your creative circle might find it handy too. Until next time, happy creating!
