Drawing a map can seem like a daunting task. With countless details to capture and the need for geographical accuracy, where do you even begin? Whether you’re a traditional pen-and-paper illustrator or a digital artist, I’m here to show you that creating an illustrated map is not as overwhelming as it may seem. In this guide, we’ll break down the process into manageable chunks, making map illustration straightforward and approachable.
Choosing Your Location
The first decision you’ll make is selecting a location. While the possibilities are virtually endless, it makes sense to choose a place that resonates with you, one you know well or like. In this example, we’ll focus on Manchester city center, as it’s somewhere that I know well. Drawing a place you’re familiar with not only allows for a more personal touch but also simplifies the process as you already have an innate understanding of its layout and unique characteristics.
Mapping Out Your Roads
For this, we will be using either an OS map (UK), USGS Topographic Map (USA) or another countries equivalent as our references to chart the paths of roads and locate key features. These maps provide a detailed aerial view of landscapes, including roads, terrain, and landmarks.
Begin by using a search engine, to find a clear and high-resolution Ordnance Survey (OS) map or USGS Topographic Map of the location you intend to illustrate. Ensure the map includes detailed road names and key geographical features. Once you’ve found one you want to use, save it to your computer.
Open Photoshop and create a new file with dimensions matching the size of the paper you plan to draw your map on.
Import the saved OS or USGS map into your Photoshop file, positioning it so that it fits within the canvas. This reference map will serve as the basis for your roads. With the map placed in your Photoshop file, you’re ready to print it off. Ensure the printed image aligns with your drawing paper’s size. If your printer can’t produce a single print at the desired size for your map illustration (like mine), don’t worry; there’s a solution. You can create multiple smaller Photoshop files that your printer can handle and then assemble them like pieces of a jigsaw puzzle to achieve the desired size. Here’s how to do it:
Thank you for providing your preferred method. Here’s the section on handling print size limitations using your approach:
Dealing with Print Size Limitations:
If your printer can’t produce a single print at the desired size for your map illustration, you can create a jigsaw puzzle of smaller sections. Here’s how to do it:
-
Determine Printer’s Maximum Size: Begin by finding out the largest size your printer can handle for a single print.
-
Calculate the Number of Pieces: Next, calculate how many times the printer’s maximum size fits into the larger map image. This will give you the number of pieces needed for your jigsaw puzzle. (It’s OK if the edges overlap)
-
Create Individual Photoshop Files: For each piece of the puzzle, create a new Photoshop file at the size that your printer can handle. You should end up with the desired number of smaller files.
-
Overlay the Full-Sized Map: Place the full-sized large map over the first smaller file in Photoshop at 100% size, ensuring it aligns correctly. This creates your first puzzle piece.
-
Repeat for Additional Sections: Continue this process for the remaining smaller files until you have assembled all the pieces of the jigsaw puzzle.
-
Print and Assemble: Once you’ve completed the individual sections, print each one separately, making sure they match the printer’s maximum size. After printing, you can physically assemble the sections to create your map illustration at the desired size.

Once your printed map is assembled, trace the roads and landmarks lightly with a pencil onto your drawing paper. Ensure that you include all the desired roads and features for your map illustration. To do this, you can use a lightbox if available, or simply tape the map to a window during the day to trace the details using natural light.
Adding an Isometric Grid
The next step involves drawing an isometric grid over your traced roads and landmarks, again in light pencil. Drawing the isometric grid allows you to accurately represent the three-dimensional aspects of your map, giving it depth, dimension and for maintaining a consistent perspective throughout your illustration. If you’re not familiar with how to draw an isometric grid, you can find detailed instructions in my blog post What Is Isometric Perspective and How to Use It in Your Art.
Adding Buildings to Your Map
Now, let’s focus on adding the buildings to your map illustration. Start by working on blocks of buildings, and use Google Maps as your guide for accuracy. Here’s how to do it:
Locate your map’s area on Google Maps, using it as your reference point for placing the buildings accurately. Utilize Google Maps’ Street View feature to get a better idea of the buildings’ appearance at street level. This will help you add realistic details to your map. Plan the placement of the buildings and use the diagonal lines of the Isometric grid as a guide for drawing the sides of the buildings. Sketch them lightly using a pencil. Be sure to include any important or iconic buildings or landmarks. Once you’re satisfied with your pencil sketches, go over the lines and add details using ink or your preferred medium. This step brings depth and character to your map.
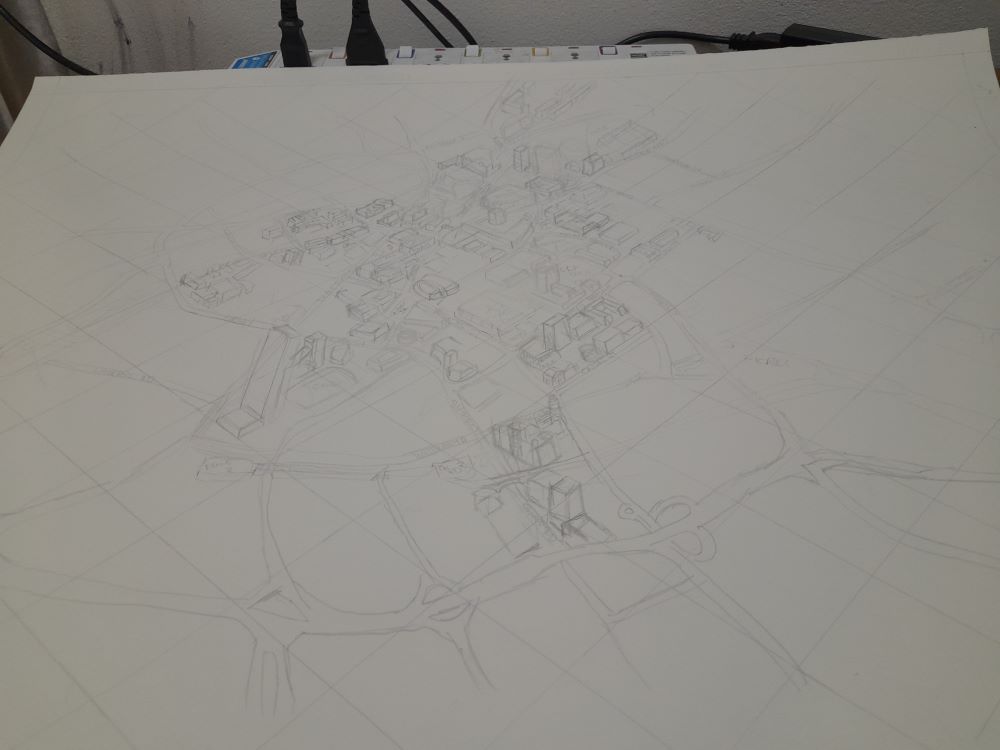
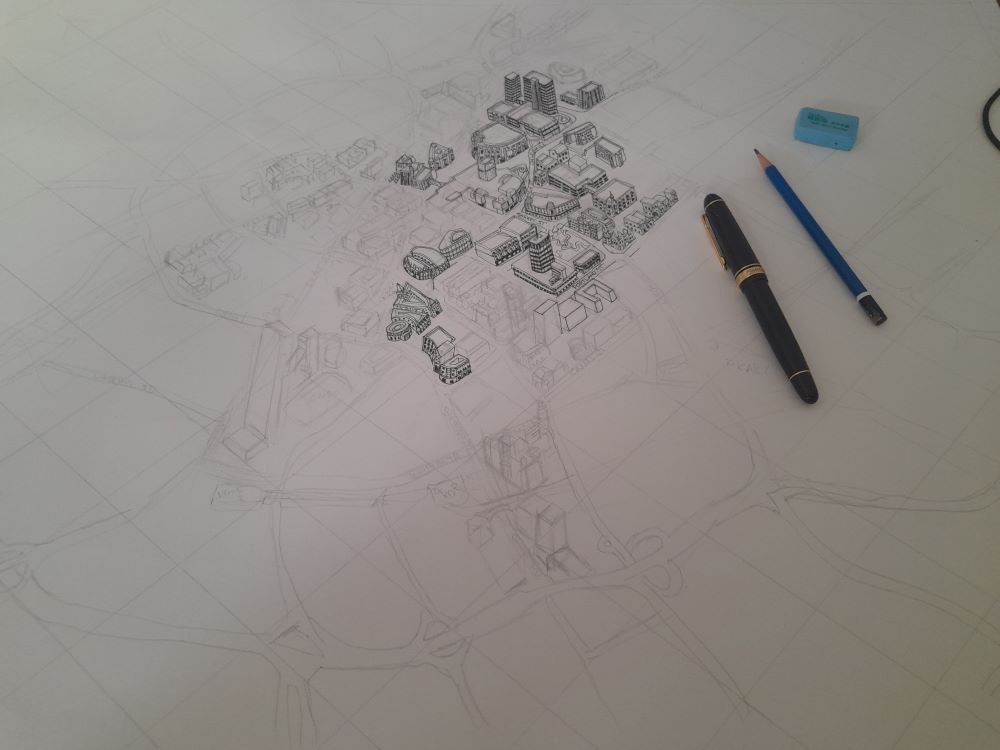
Continue with the process, repeating the actions we’ve covered until your entire map is drawn.
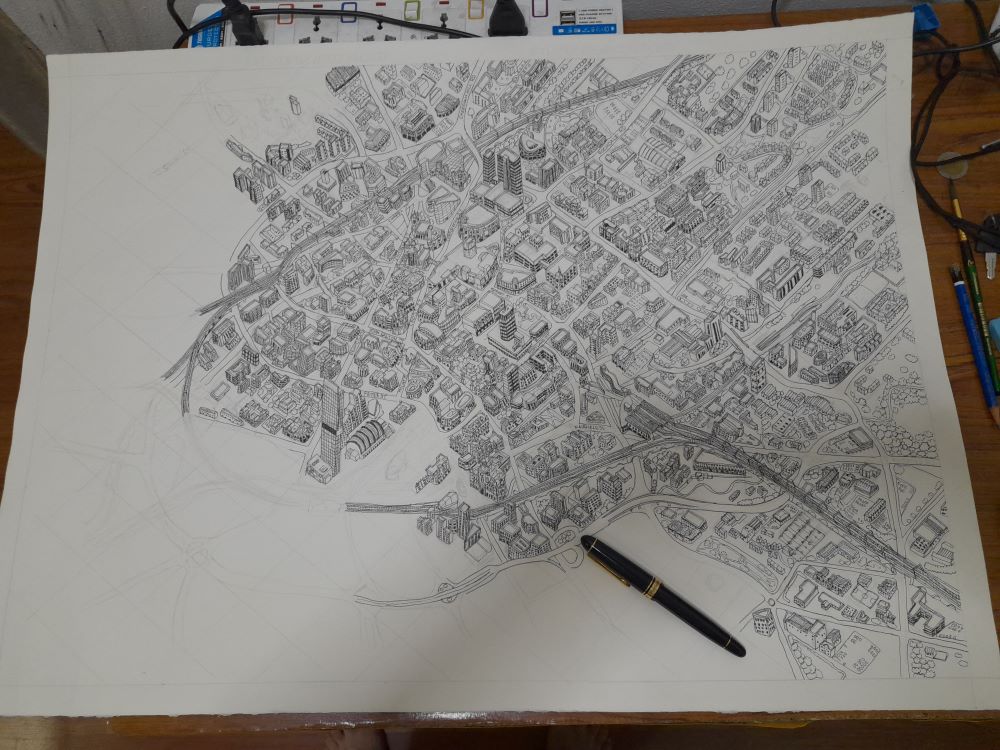
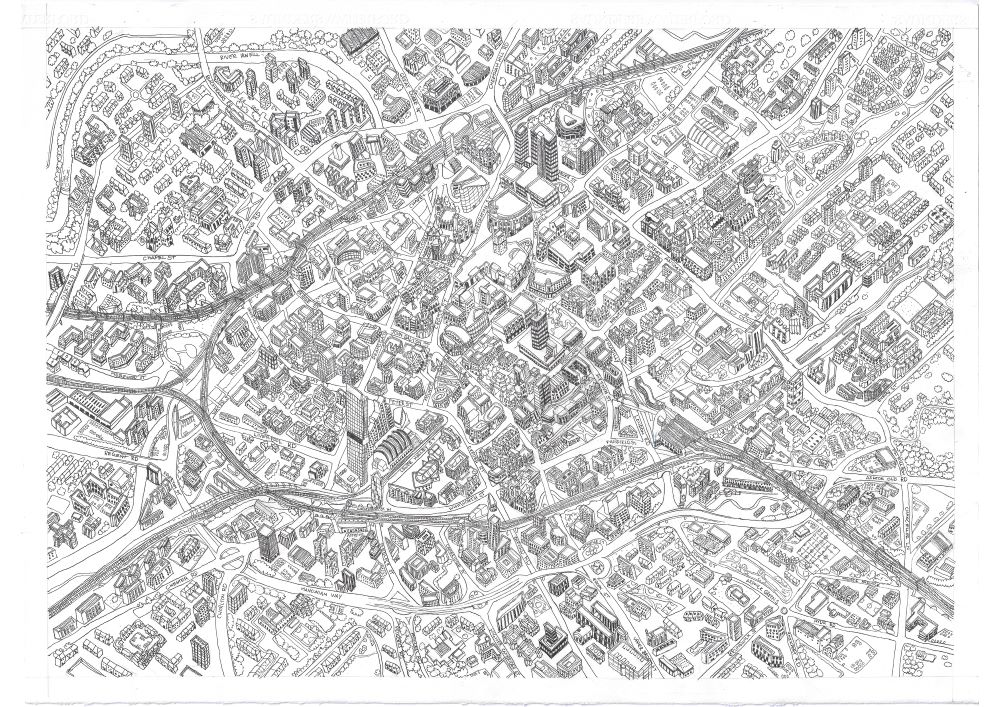
Adding Colour
With the map drawing phase finished, the next step, if desired, is to add color to your illustration in your preferred medium, whether it’s watercolor, colored pencils, digital coloring, or any other artistic tool. I used watercolour and chose to highlight the roads with orange.
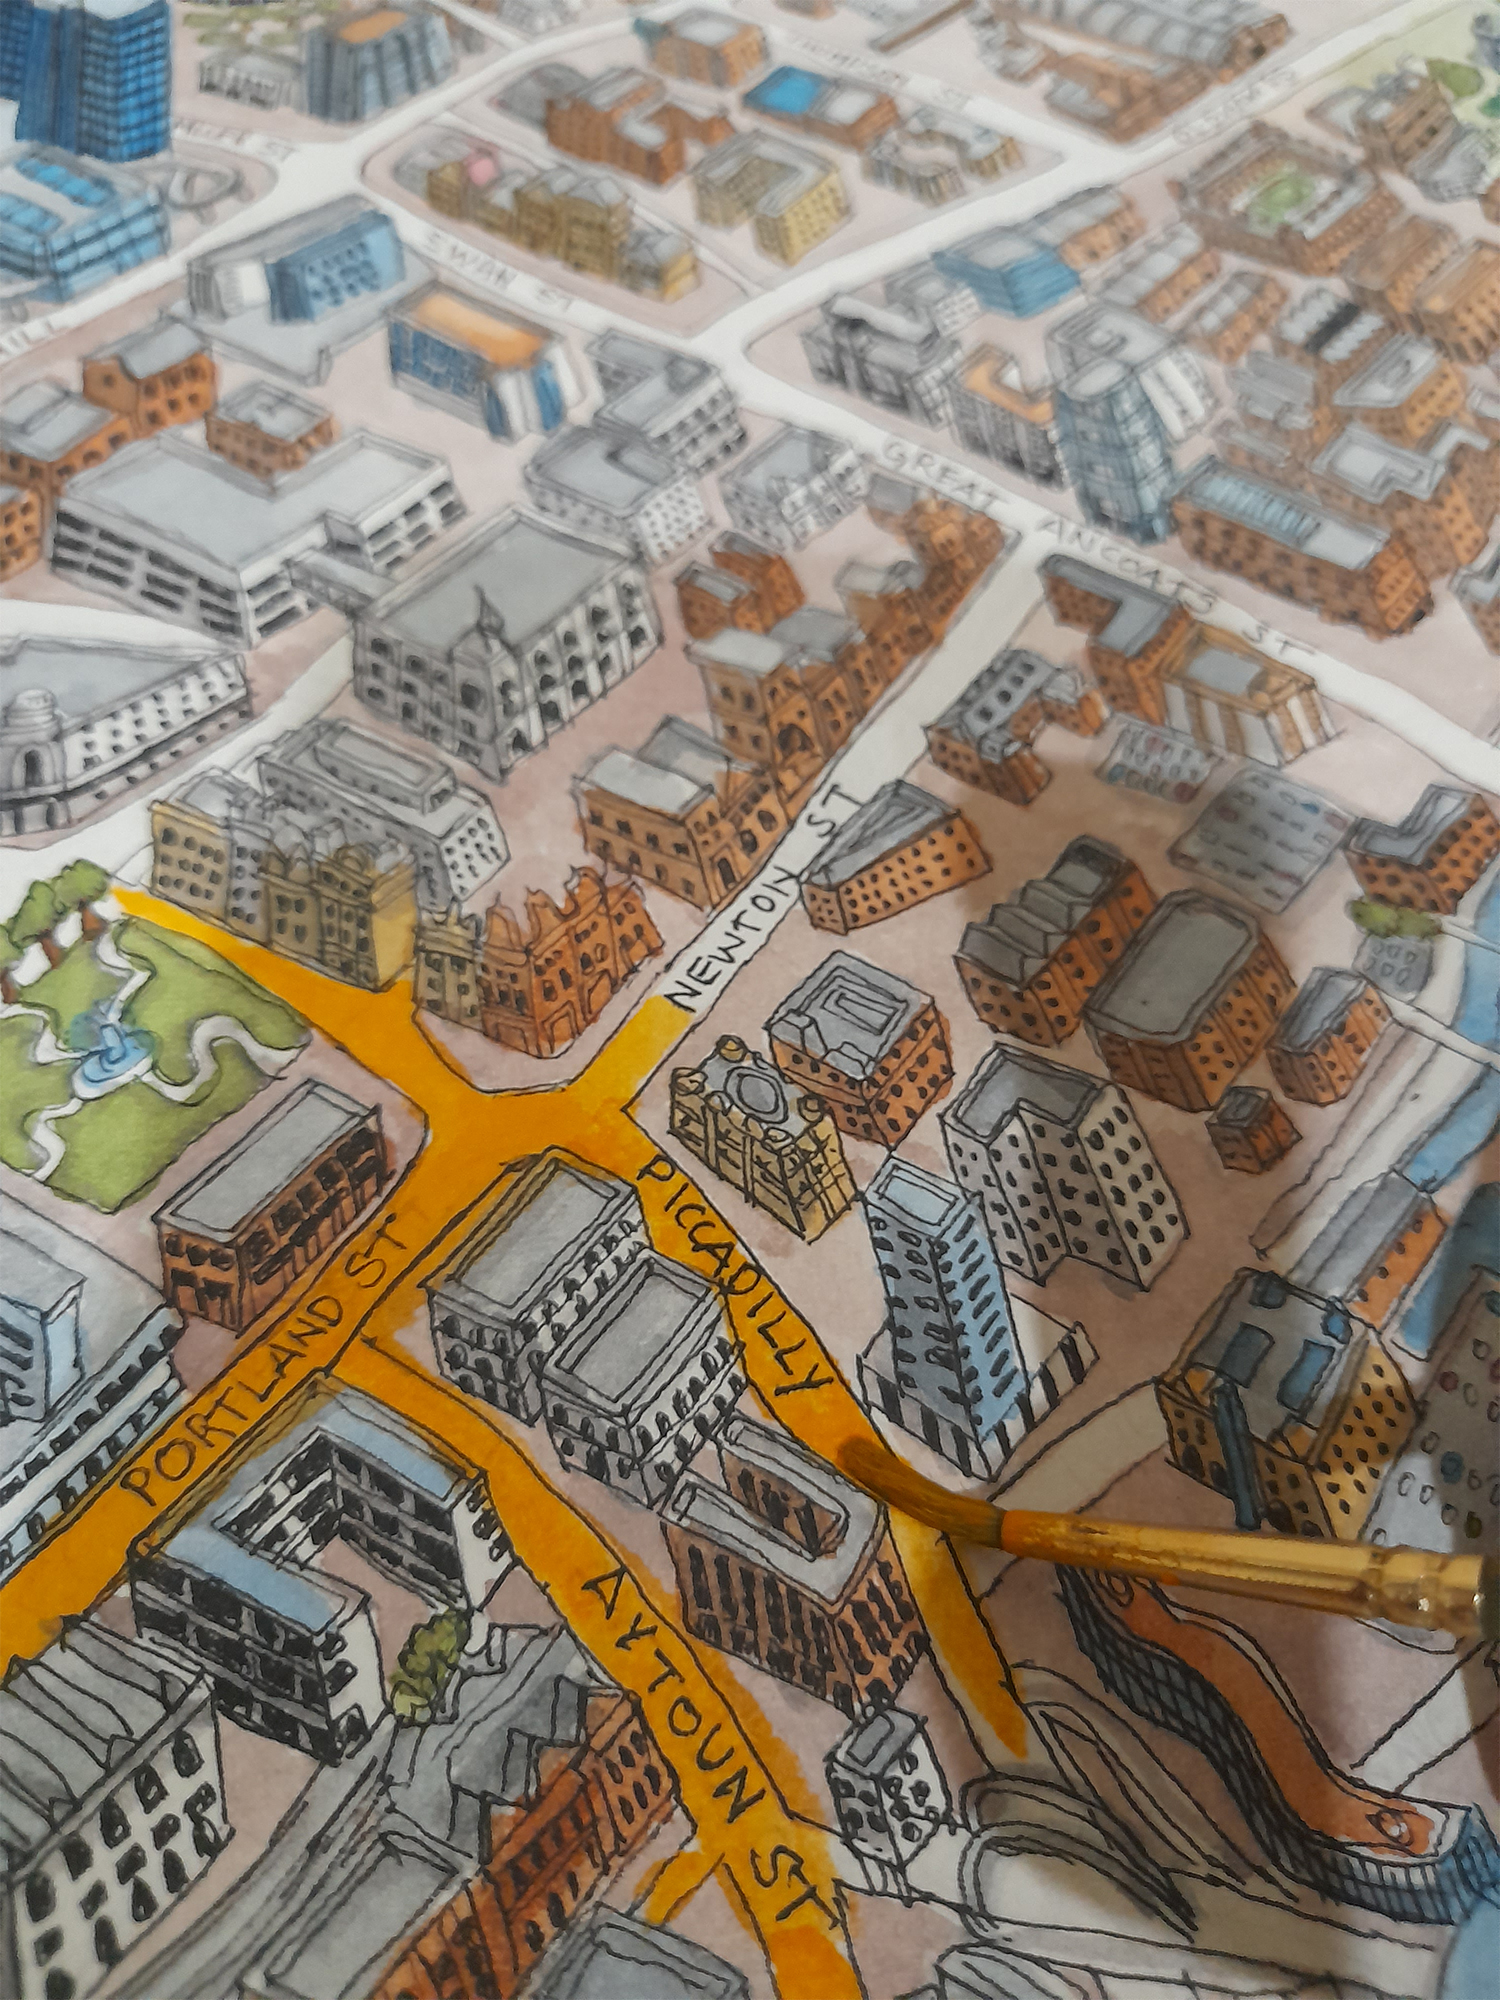
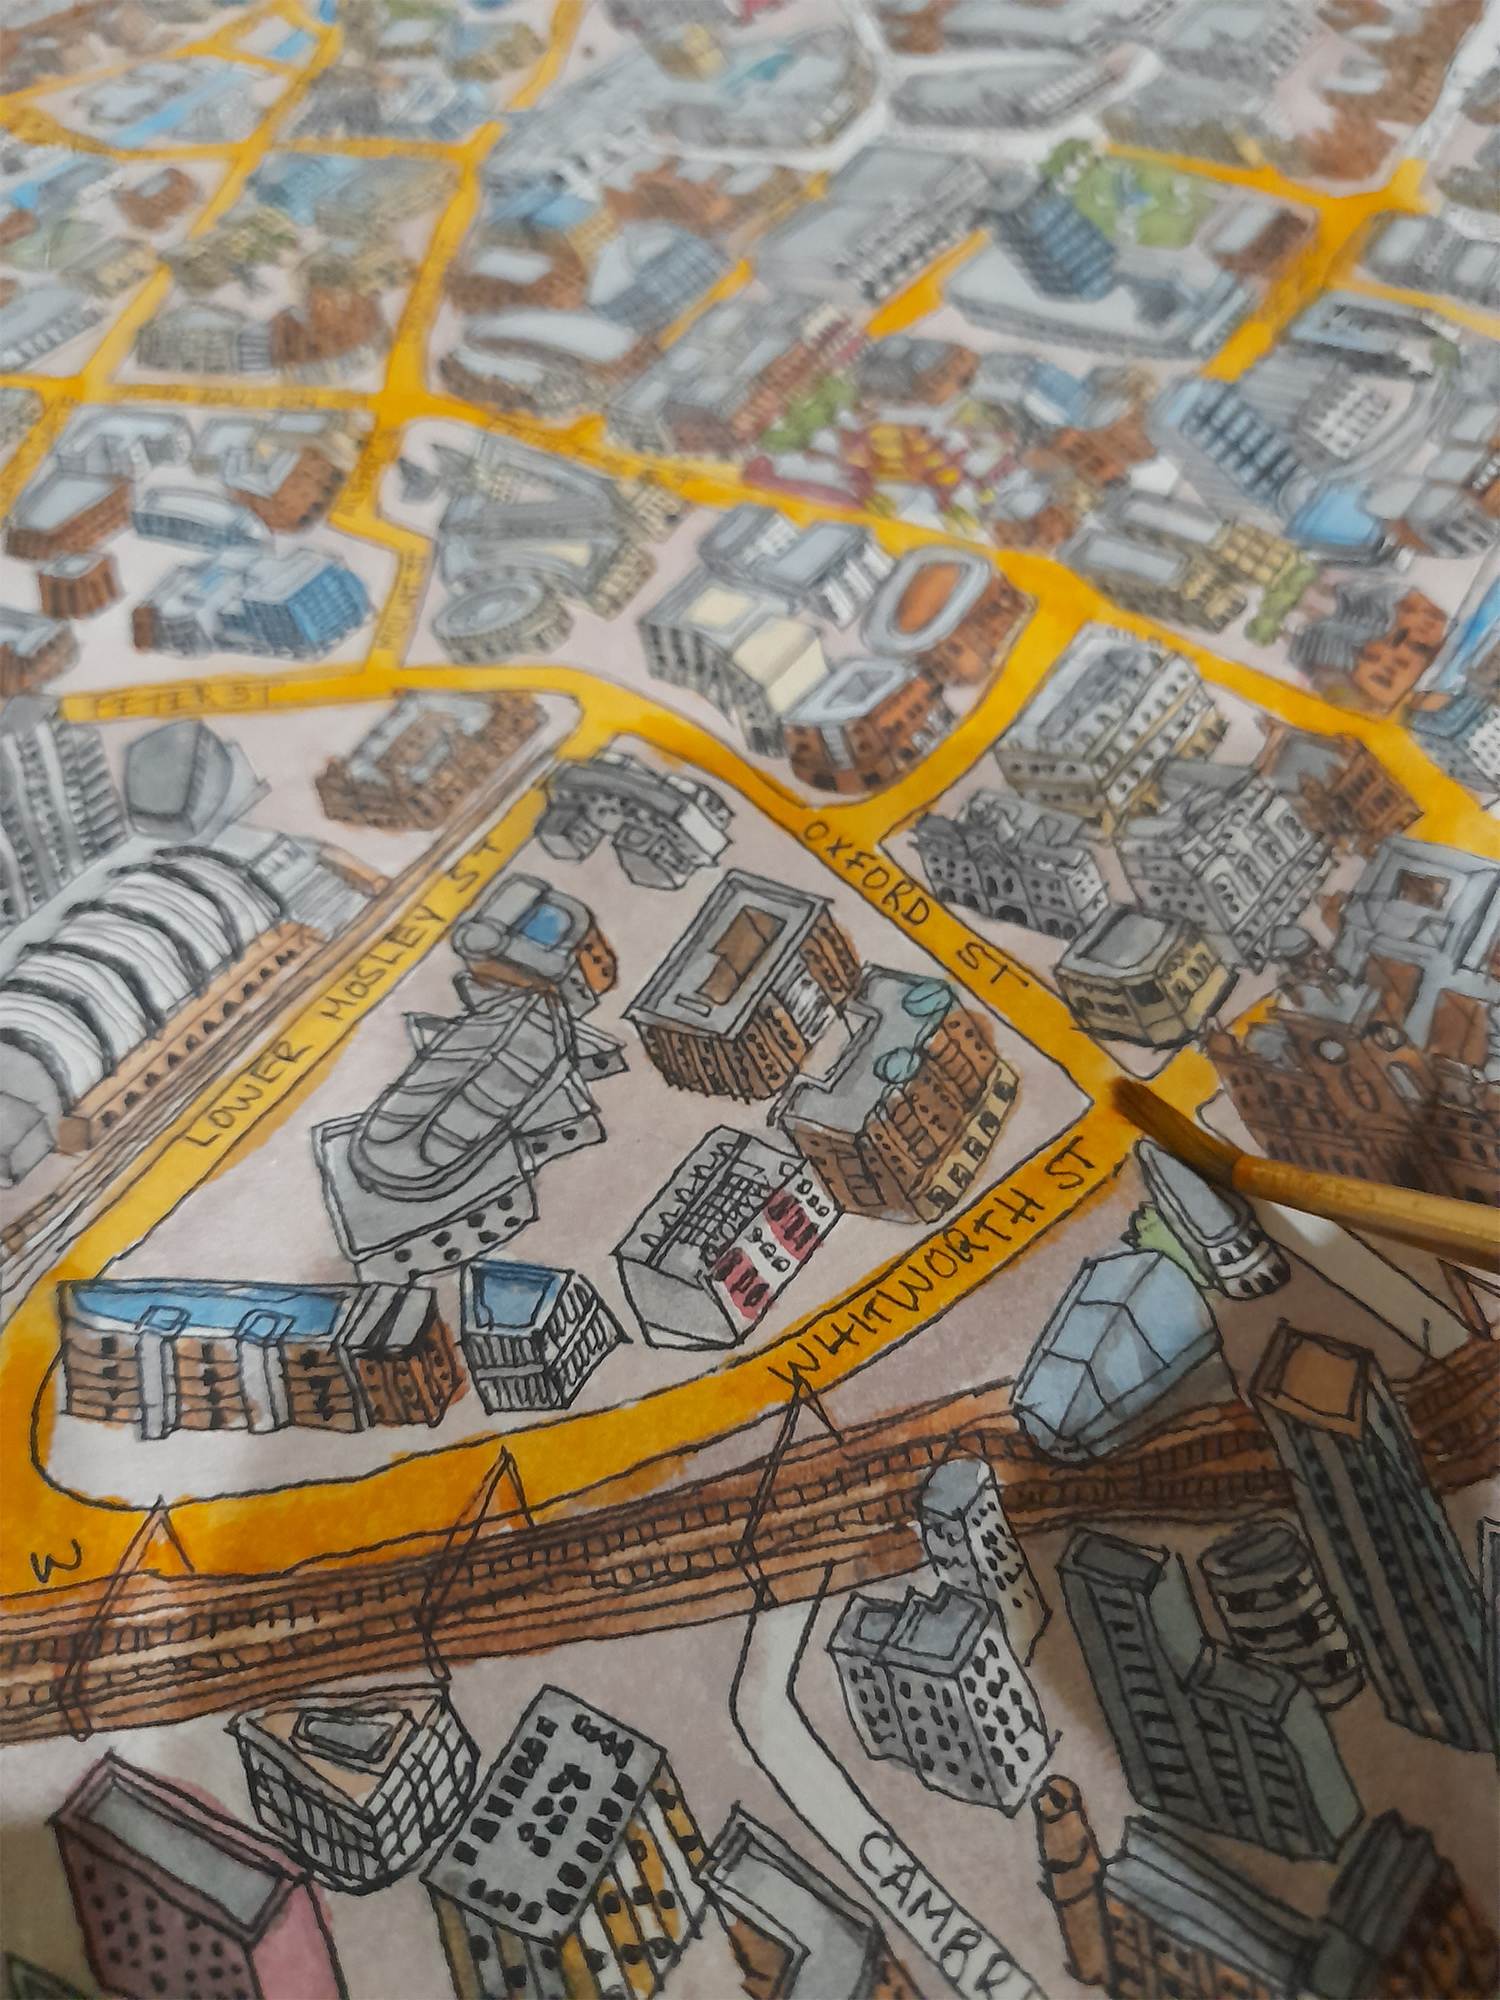
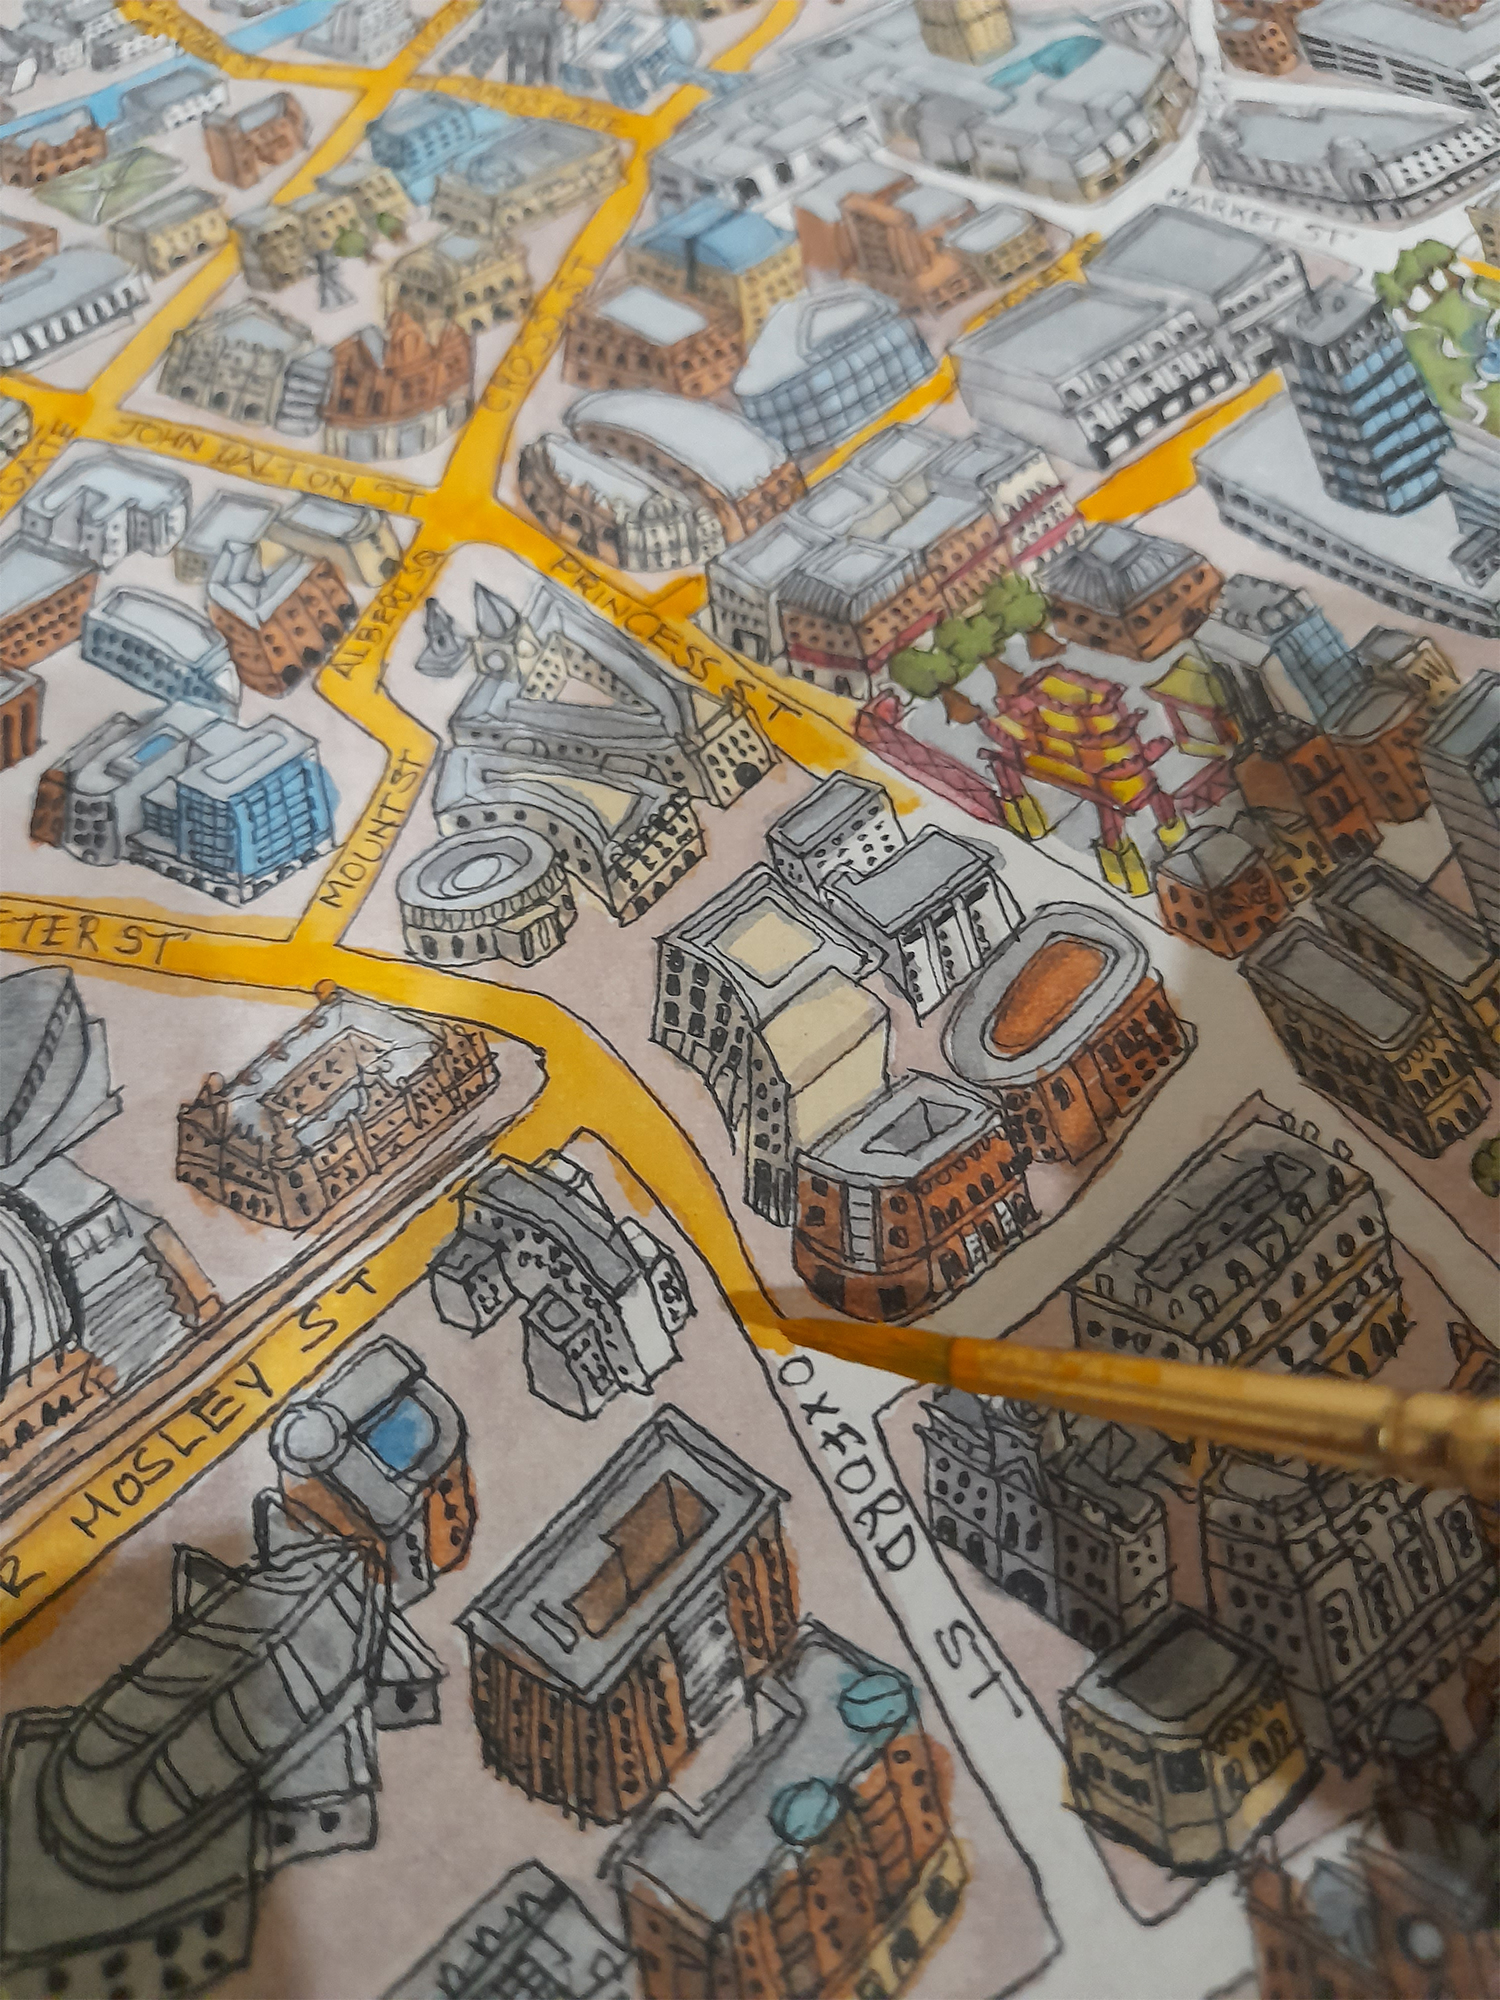
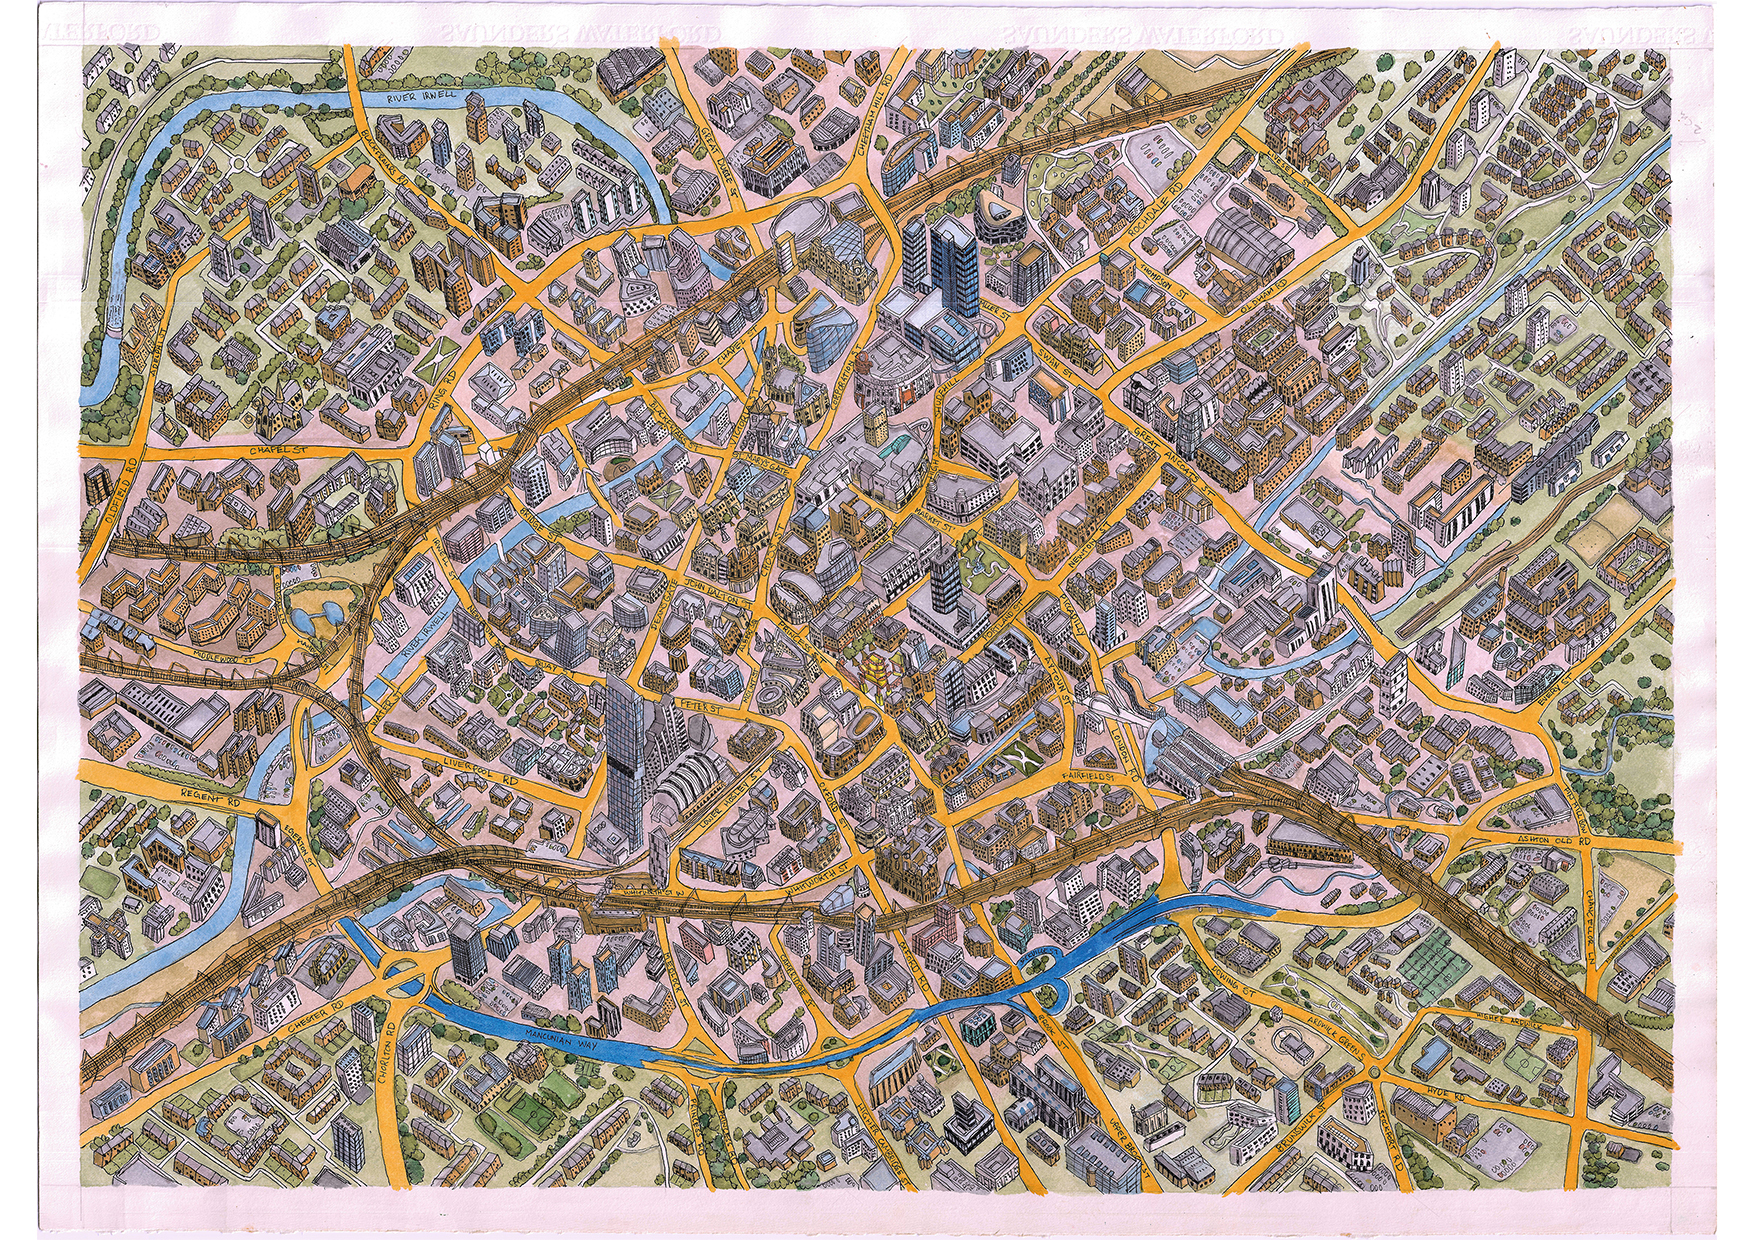
As you wrap up your map illustration, you may want to take the time to add those final touches that make your map unique. Label important features, create a legend, and refine any remaining details to ensure your map is both informative and visually appealing.
If you found this guide helpful and want to share your map or leave a comment, we’d love to hear from you. Feel free to share your map illustrations or connect with me on social media, Your feedback and creations are always welcome.
